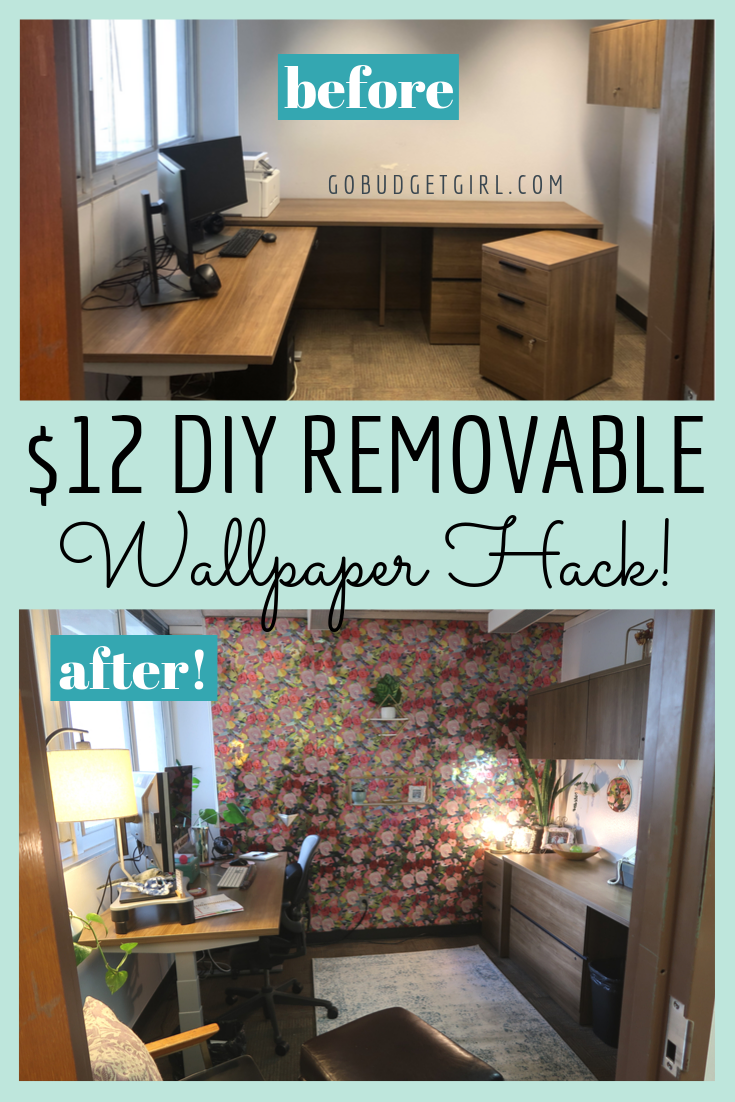
I got a new office at my day job, and had the absolute pleasure of being able to make it completely my own. I’ve always loved the look of a big accent wall mural, but pricing those removable wall stickers cost literal hundreds of dollars… and I’m cheap as hell.
So I put on my internet research pants (i.e. no pants), and scoured the web for DIY solutions. I found fabric and starch methods, real wallpaper and stencils. None of those would be okay for a renter situation – or mine, which is similar in that I can’t make permanent changes.
I somehow came up with the idea of using wrapping paper as wallpaper – I kept seeing beautiful rolls of paper at TJ Maxx- type stores and I became determined to make it work. AND I DID!
Here’s how:
I bought 3 rolls of thin, metallic floral wrapping paper from Tuesday Morning, each had 30 square feet of paper and it BARELY fit my 10 X 8 wall… I actually had to cut the extra from each roll and patch it together for the final panel.
LEARN FROM ME – measure your wall first and buy extra. If my paper had ripped, I would have been screwed.
Materials needed:
- Wrapping paper with enough square footage to cover your wall
- Double-sided tape
- (Possibly) Thumbtacks – I bought these and ended up only using two.
- Scissors
- Ladder or chair (to stand on)
Time Commitment: about 2 hours for my wall, less if you’re not trying to figure out if its possible.
I did not prep my wall in any way. There was some damage to it from a previous person who was in the office, and campus maintenance said they would have to fix the sheetrock after I moved out anyway, so I didn’t worry about it – also my Internet research said if the tape had issues coming off the wall, a hair dryer would loosen it.
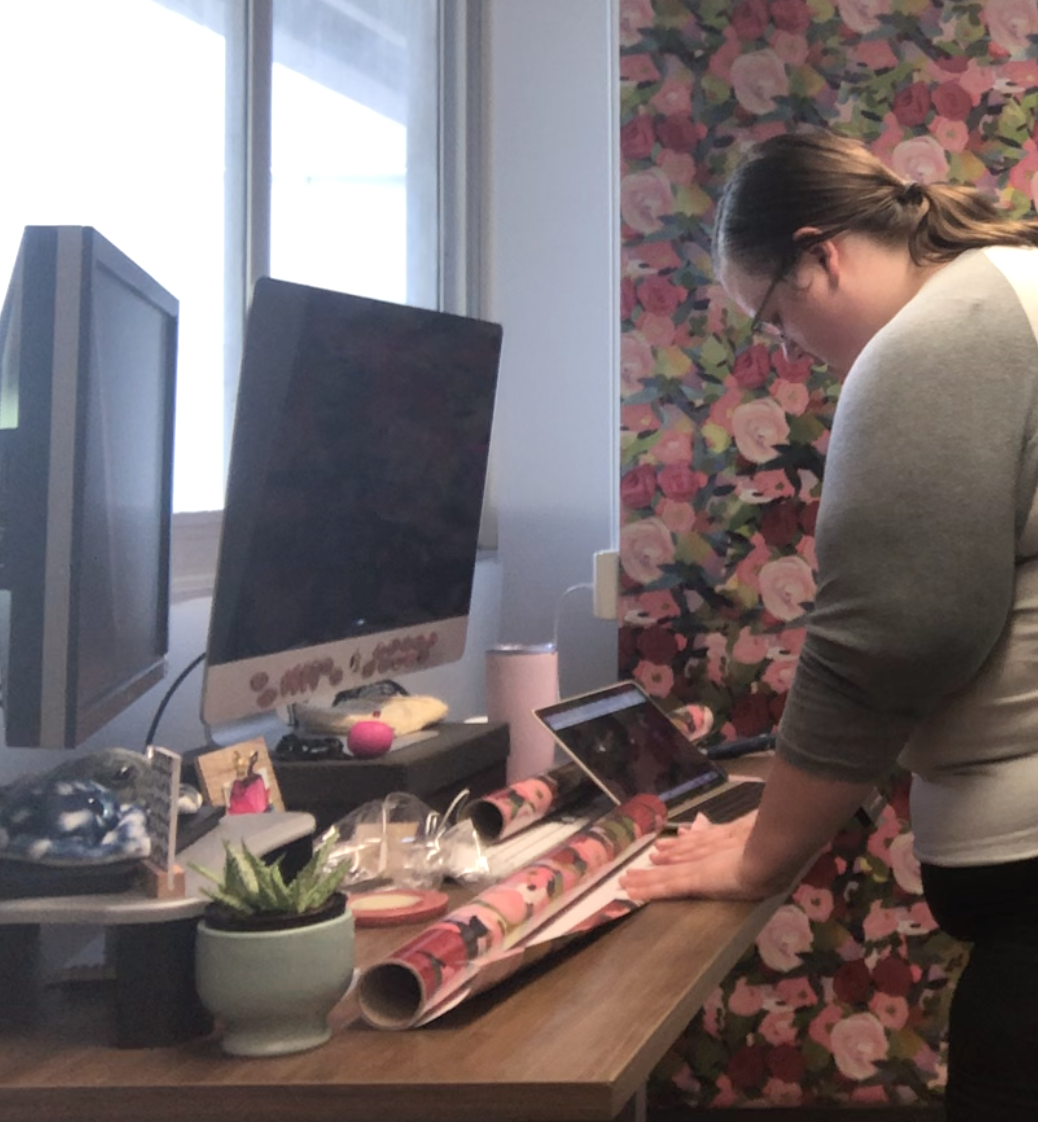
I rolled out my first roll of paper and folded over the top to create a crisp line and strengthen the top. I taped that fold down and then applied small strips of tape to the top two feet of the roll.
Standing on a chair, with the roll on the floor, I positioned the first panel at the top of the wall and pressed down, making sure it was straight to the left edge. I then went under the panel and added tape to the paper for the next foot, then pressed it down the wall from the top, avoiding folds and tears. I repeated this process down the wall until I hit the bottom.
At the bottom of the wall, I cut the paper from the roll with about four inches to spare and then used a card to dent/ crease the paper at the point where the wall hit the baseboard.
I then reversed the fold and used tape to tuck the extra paper in and taped it to the wall, making a clean end to the bottom that looked like it tucked into the baseboard.
On the second panel, I tried to match up the pattern but failed for two reasons:
- The rolls of paper were cut at different places and there was not enough extra to adjust and still cover the wall
- There was a small line of copyright script on the right hand edge of each roll that looked bad
So I hemmed and hawed for a bit and then decided to try my best to position the paper where it visually made sense, even if it didn’t match. There are large pink and red flowers, so I put those together to fake a pattern repeat and it worked really well.
I also overlapped the second panel about an inch onto the first one to hide the script. This also worked.
NOTE – You may be tempted to put clear tape on the seams. DO NOT. Any tape topping the paper will make it look cheap and DIY (and not in a good way). I used tape on top of the first panel where the second one covered it for security, but this does not lay 1000 percent flat. You have to get close, but you can see the seams, it’s fine.
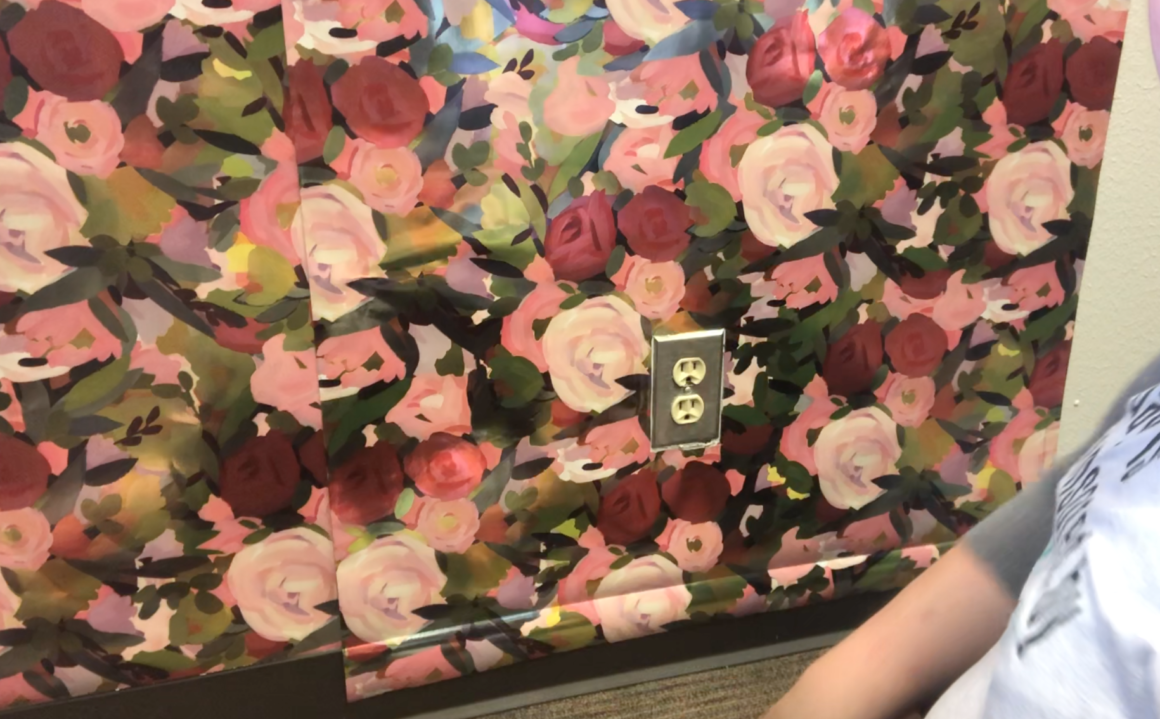
For the outlet, I used the same crease method as I did with the baseboards, and then used scissors to carefully cut out the outlet. (I should have used an X-acto/ removed the outlet cover, but I didn’t have one/ didn’t want to. I just used extra tape around the outlet to make sure it laid flat. It worked great.
The first three panels went very smoothly, but I was nearly out of paper on the fourth and had to measure and cut from the leftover of the first three panels to patch together the last one. The last panel is partially obstructed by a wall mounted shelving unit, so this is fine, but I wish I had had an extra roll of paper.
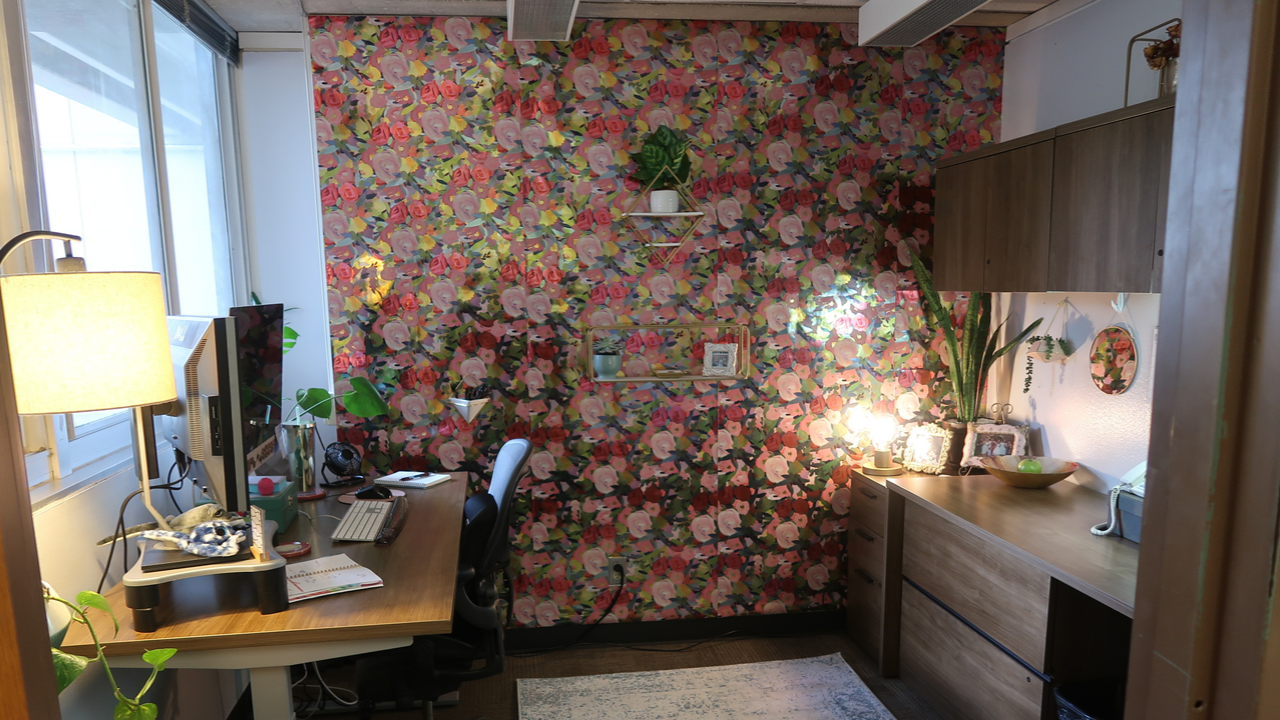
Overall the wall came out amazingly and every single person who has seen it has given me high compliments. If I did it again, I’d be able to do it faster and probably make it look even better.
Also for $12 and two hours of my time? It’s my frugal win of the year!
Here are some more simple ways to upgrade your office or workspace on a dime.
- Add plants, real or fake – they bring the life.
- Add secondary light sources – overhead light is harsh and floor and desk lamps add warmth and cozy vibes.
- Bring in photos of family and friends, and art – you should be reminded of loved ones and visuals that bring you joy.
- Shop garage sales and thrift stores for customizable decor – a coat of spray paint works miracles.
- Have non-perishable food, condiments, snacks and real silverware on hand – Learn more about how to upgrade your sad desk lunch in this video:
Save this hack on Pinterest for future use!