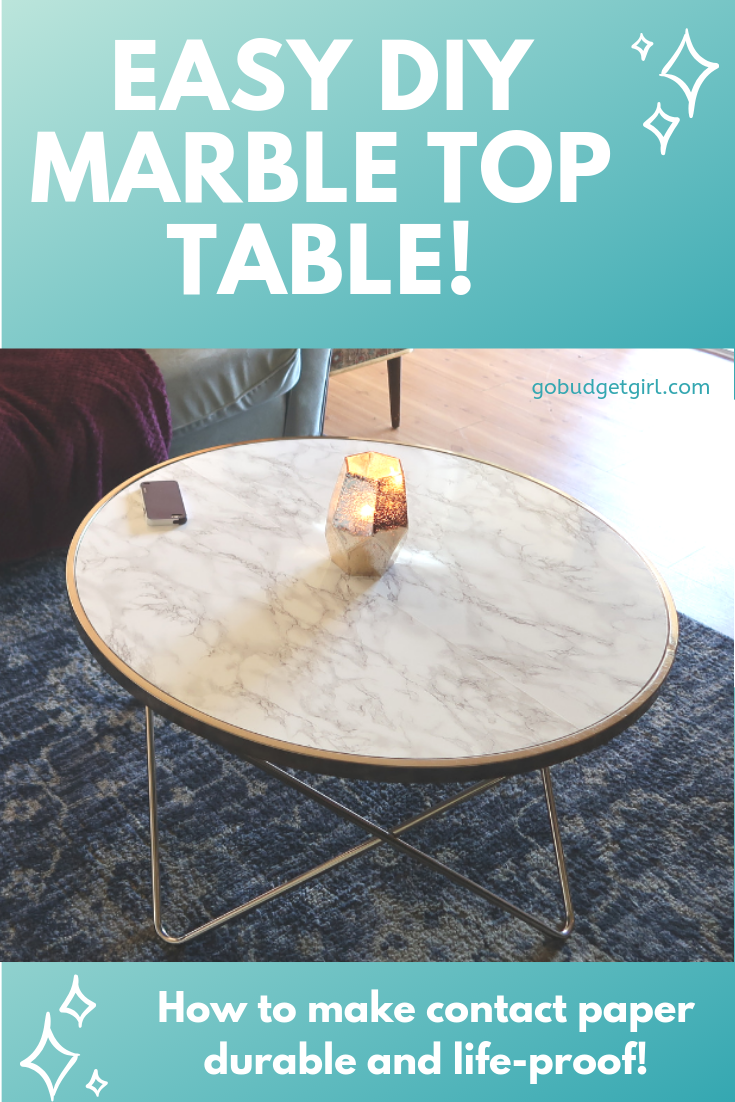
I LOVE the marble trend, but cannot afford the real thing. Or at least I have bigger plans for my money than investing in heavy marble. So I decided to try to make my own DIY version with marble contact paper!

I’m sure you’ve heard of contact paper before, BUT I have a few tips on how to do it cheaply and correctly the first time. No wasted money or time.
Materials
FIRST, I choose a coffee table which hid the edge of the area I’d be papering. It is very hard to do edges properly with what’s essentially a giant sticker, so if you can avoid it from the jump, why not.
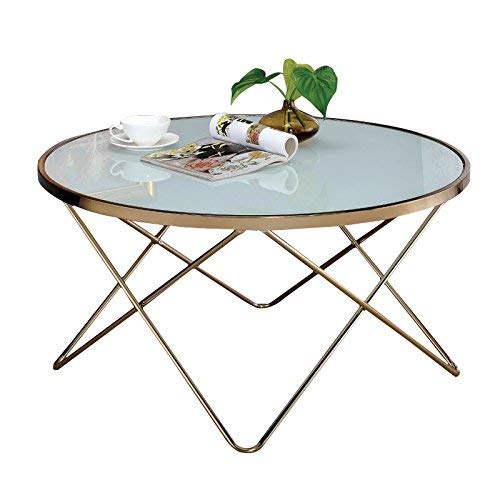
I chose this table from Walmart/ Amazon .

It has the cool gold lines I was looking for and a lightweight glass top, which will be great for covering with marble paper, since the edges sit into the base.
Next choose good quality contact paper. I ordered my first “roll” from wish for about $4, and it was so thin and cut so weirdly that it was just a waste of that money.
You want thick, shiny paper that will hold up to the abuse that a coffee table gets (and mine gets a lot!)
For just a couple dollars more, Amazon sells this 78 inch roll of high-quality marble paper for just $6. It has lasted over 18 months on my table and shows no signs of damage, wear or needing to be replaced. I work, eat and play off this table, host tons of people and don’t baby it even a little. Trust me – get the good contact paper or re-do the project in six months.
I put drinks down on it without coasters (cuz who has time for that on plastic/ glass) and wipe it down with any cleaner I have nearby regularly. It’s TOUGH. And one roll was more than enough for this table.
Application
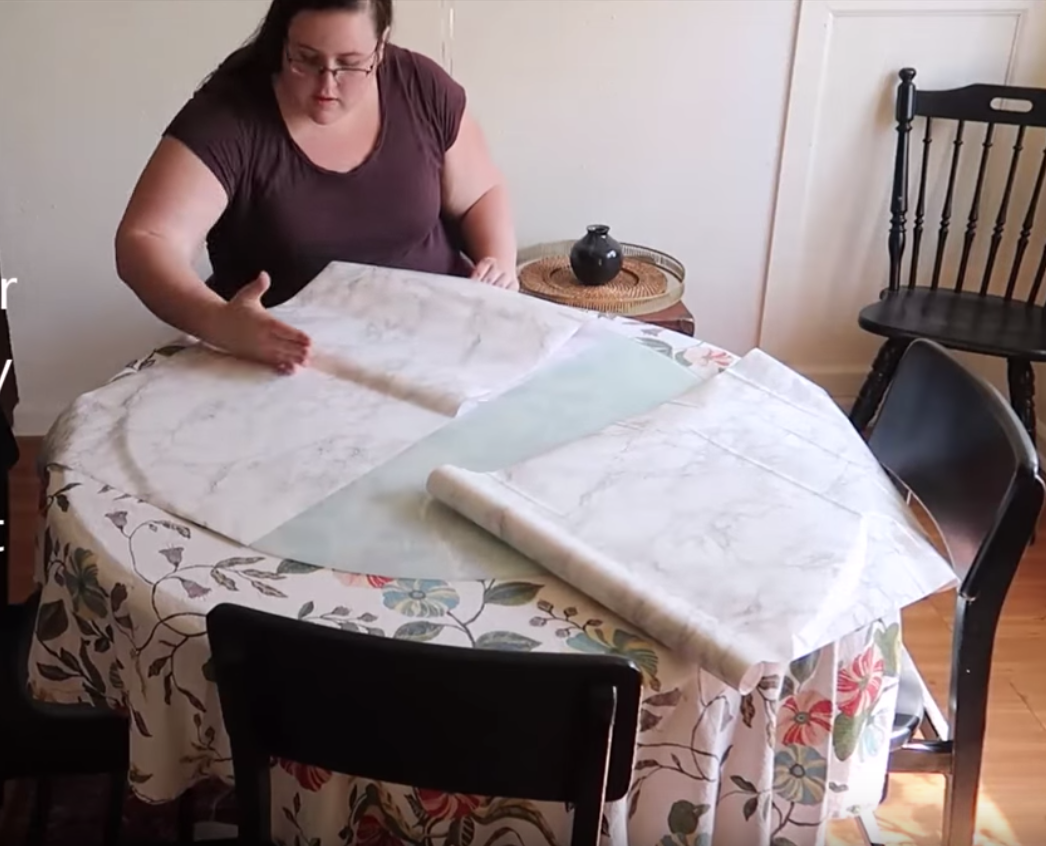
I removed the glass from my table and put it on my kitchen table so the sticker wouldn’t catch on the frame. I cleaned the glass and let it dry, then carefully lined up two sheets of the contact paper with an 1/8 inch overlay. I tried to match the edges of the pattern as best I could.
Then one at a time, I carefully peeled the paper back and attached it to the glass, using a plastic card to work the bubbles out to the edge.

Then I used an X-acto knife to cut around the whole glass circle, as close as possible to the glass. You do not want a lip to fold down.
Then I popped it back into the base and I was done!
This project took less than 20 minutes and cost less than $120 total. I now have a chic, marble vibes coffee table that looks way more expensive than it was .
I loved it so much, I repeated the whole process on the bottom self of my couch back table a year later! It makes the pieces look related, but not matchy-matchy and it’s just a subtle upgrade that makes a big difference.
See the full process here!
Are you digging the marble trend? Have you ever tried contact paper? It was way easier than I anticipated!
Things used (affiliate links)
Coffee table: http://amzn.to/2G7uJZ8
Marble Contact paper: http://amzn.to/2FVxAB3

Have you ever used contact paper to upgrade a piece of furniture or crafts? I’d love to know!


